Mailer Setup
Mailer Setup
Vault uses Resend as its email provider. Any client that requires authentication depends on email contact for account verification, password resets, and similar flows.
To get the full advantage of the product, create a Resend account and add your domain — you can follow this guide to do so. Then you’ll need to add your API key to your Vault account. Conveniently, API keys are account-bound, so a single key can serve as many Mailers as you want across its permitted domains. You can read more about Resend API keys here.
Once you’ve created a key, copy it and add it to your account:
You now have a registered Mailer API key — time to put it to good use.
Linking Mailers
You’ve probably noticed the red icon on your realm and clients. Mailers act as the glue of the authentication system: without one, there’s no way for your users to register, verify accounts or reset passwords.
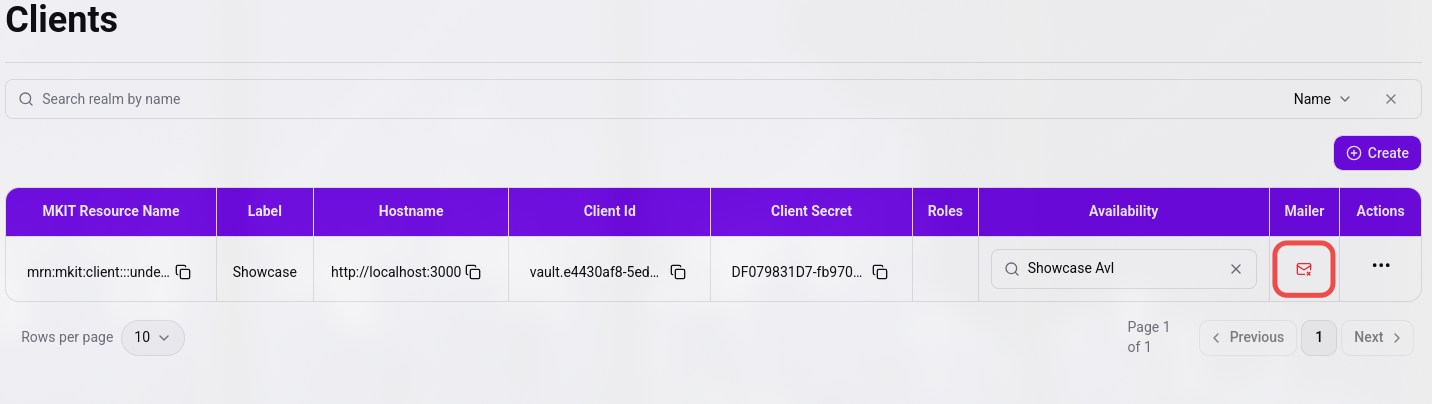
The general rule: one mailer per client. If you’re running a large application with multiple portals in your realm, you can instead link a mailer directly to the realm. The first Mailer you create becomes your realm’s default; if you create more, you can choose which one is the default.
Headless clients don’t need a domain or a mailer. They exist purely for server-side authentication and resource management.
Create your Mailers like any other entity on the Vault dashboard — head to the Mailer page and complete the create form.
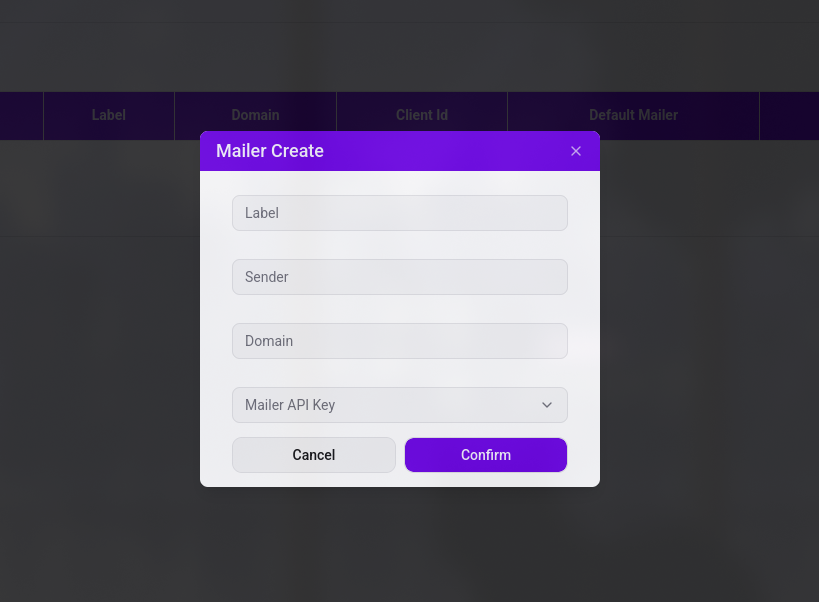
The mailer’s email address is composed as sender@domain. The domain must match one your Mailer API key has access to.
Now we have everything we need for our application to work with Vault. Head to Auth flow to get a better understanding of how to structure your application.