Realm Setup
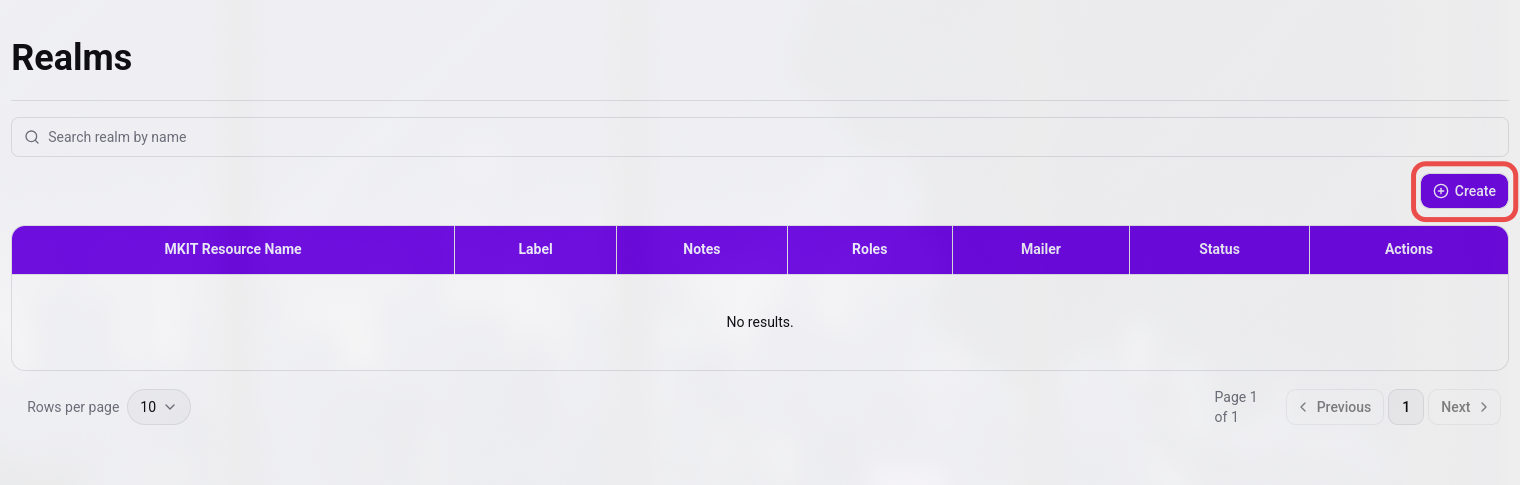
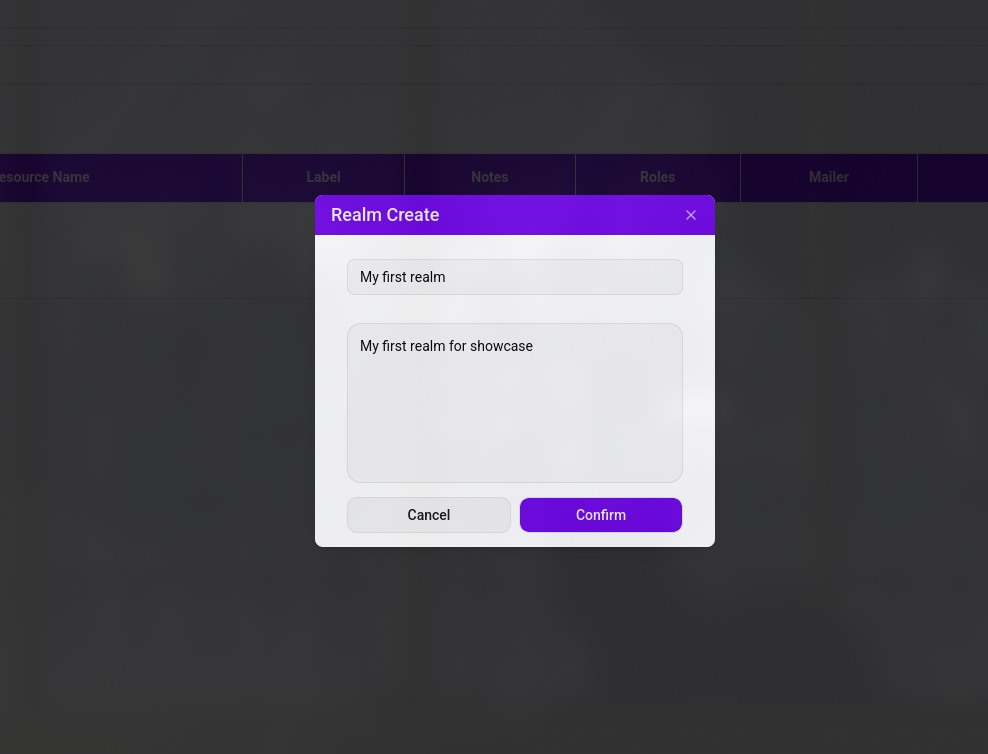
1. Create your realm
A realm is a self-contained structure that packages everything else together — you can think of it as an environment.
2. Create a client
Any application that uses Vault for authentication is called a client.
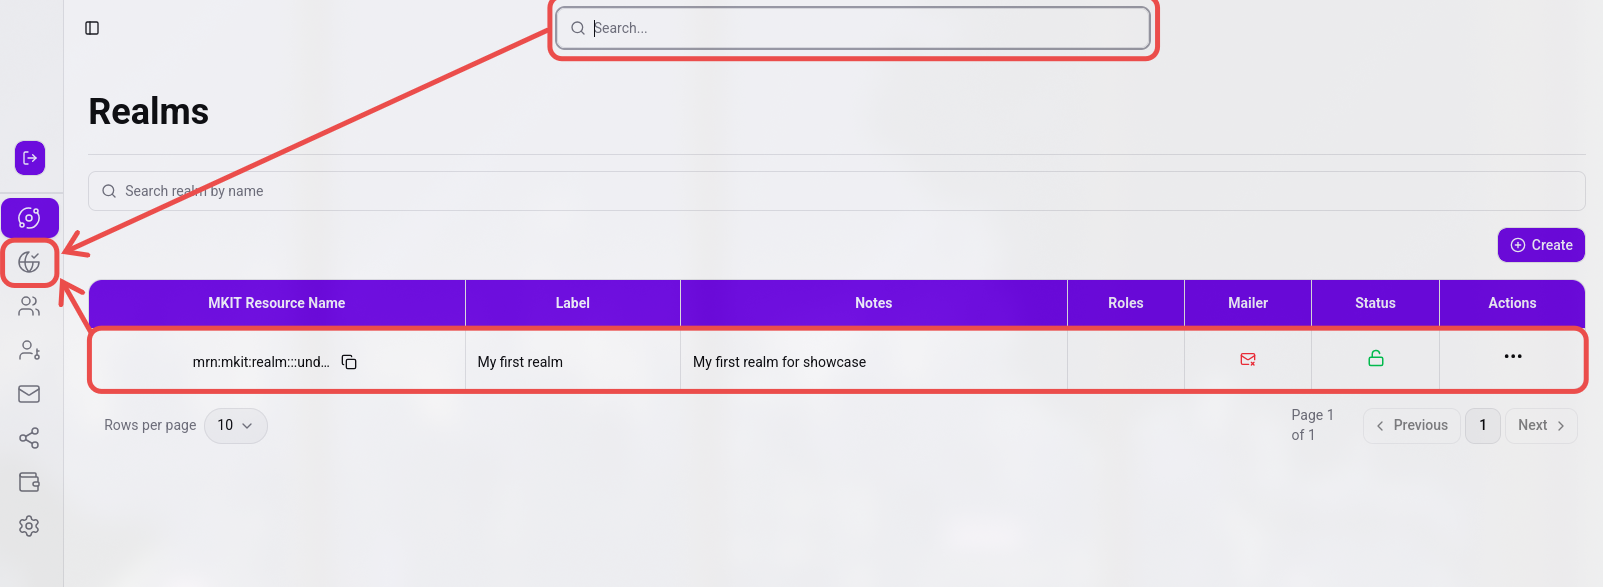
Select your newly created realm (click the row, or use the header dropdown) and open the Clients Page:
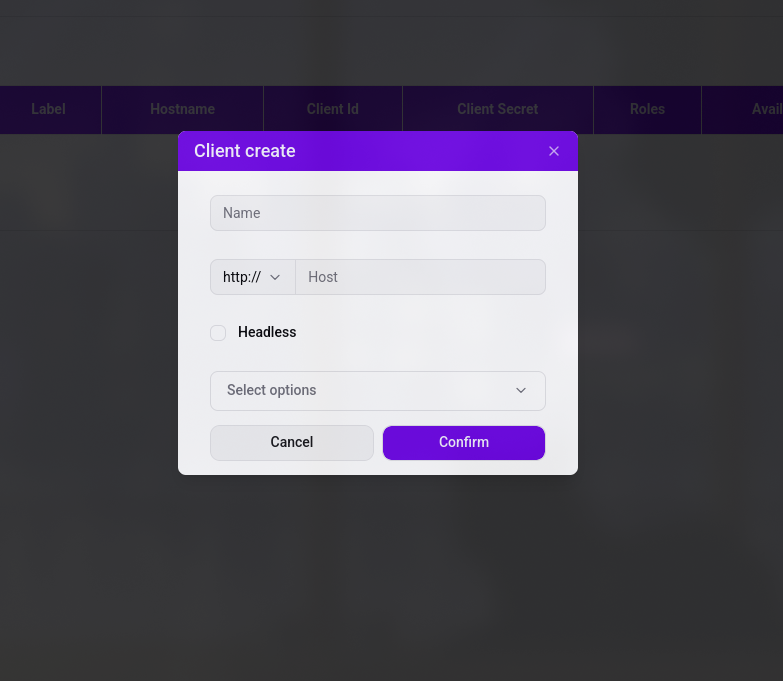
The host must be the exact string your browser uses on the landing page. Localhost works too — just pick http as the protocol and include the exact port.
With your client created, you now hold its credentials: client_id and client_secret. These are the keys that connect your application to Vault’s authentication gateway.
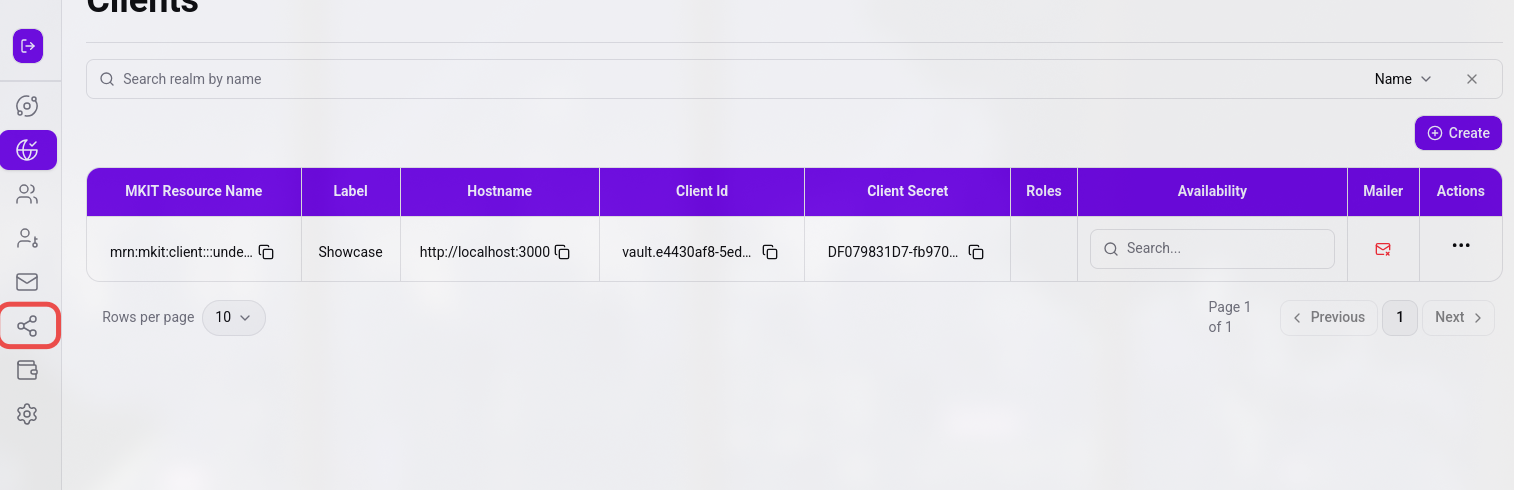
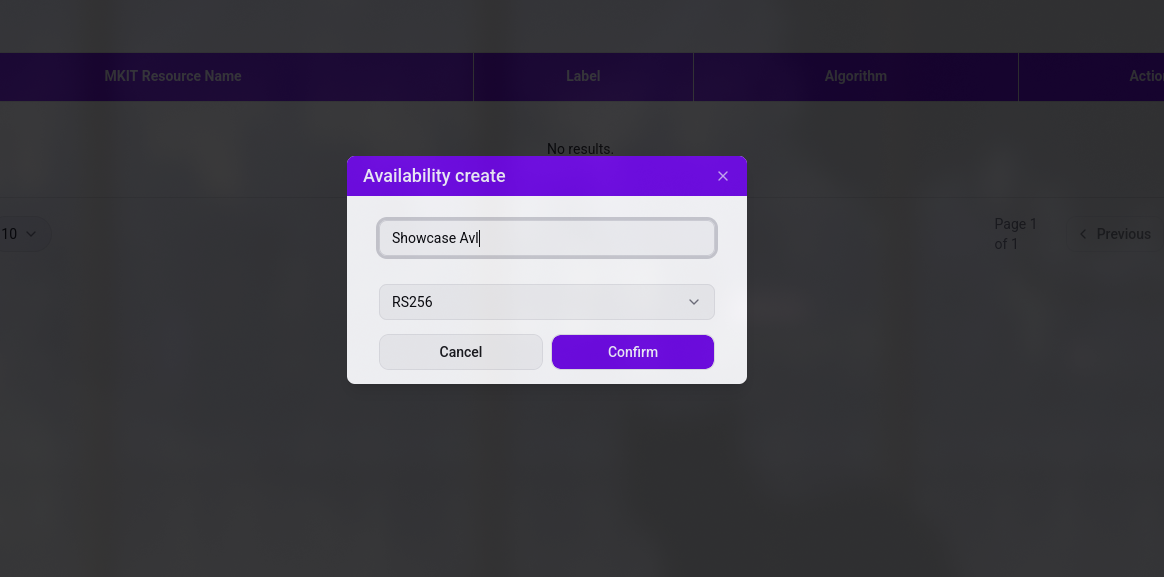
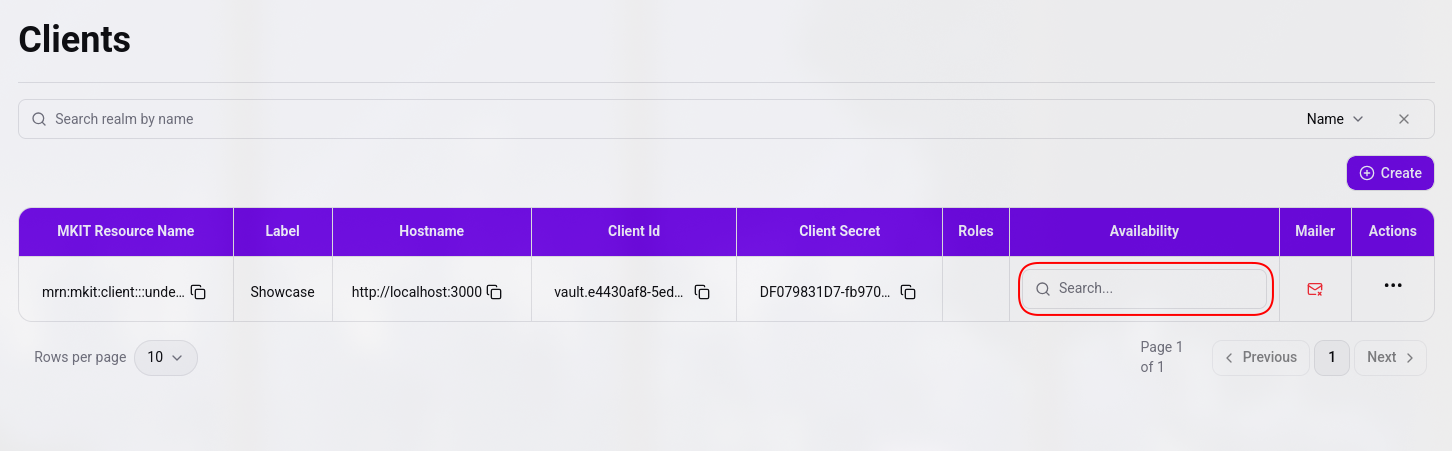
3. Create an availability
Every client MUST be linked to an availability — it defines the trust zone that validates your tokens. Do this before anything else.
What you have now
✅ A realm, a registered client with credentials, and a token trust zone attached to it.
You can now use Vault’s API to gather resources and verify incoming requests — but users can’t register yet. Let’s just make sure everything works first.